Bathroom Planning Checklist
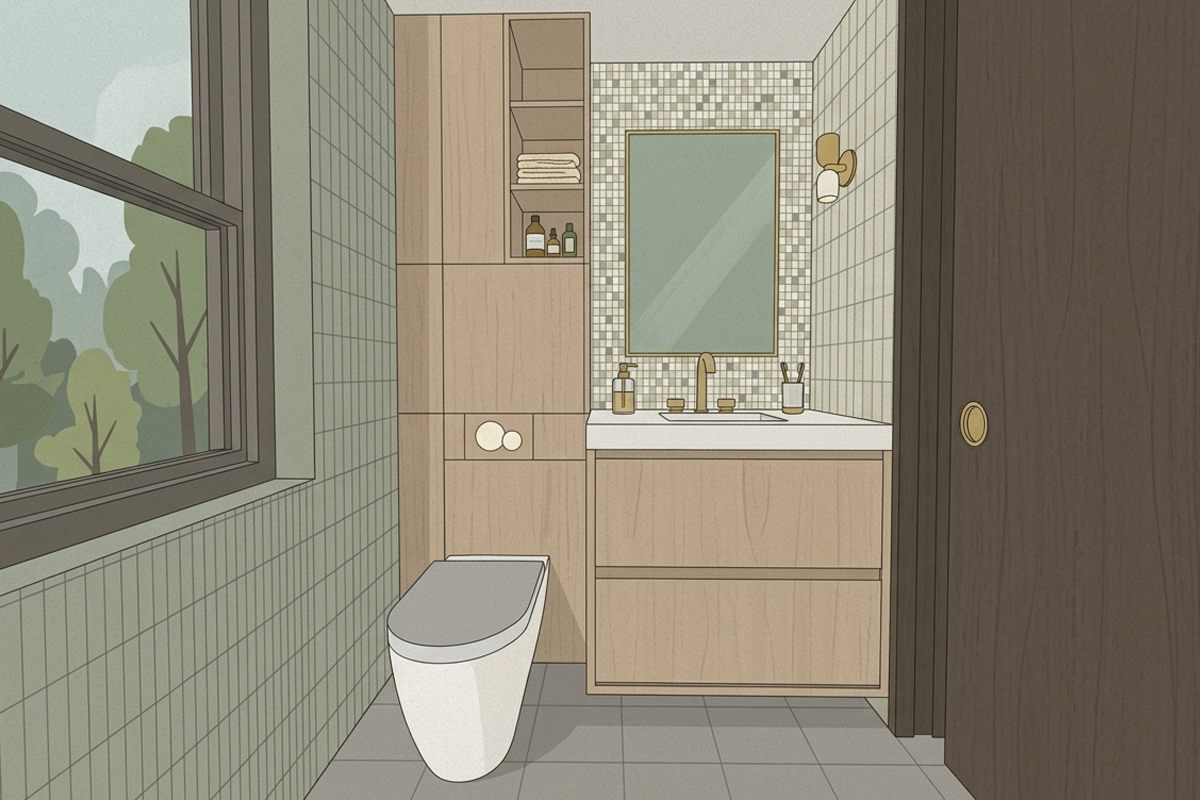
Creating a bathroom that is both beautiful and built with quality takes a few key things.
These include proper blocking and framing, waterproof systems, ventilation, and plumbing rough-ins.
Preventing mold, tile cracking, and fixtures wearing out depends on making sure that you’re sticking to good building science and getting quality parts for your bathroom.
The process of designing a bathroom can be daunting but starting off with a good foundation can pay for itself.
Planning and Rough-ins
It is important to start off with a solid foundation. Establishing a rigid structural base prevents grout cracking and tile movement under load
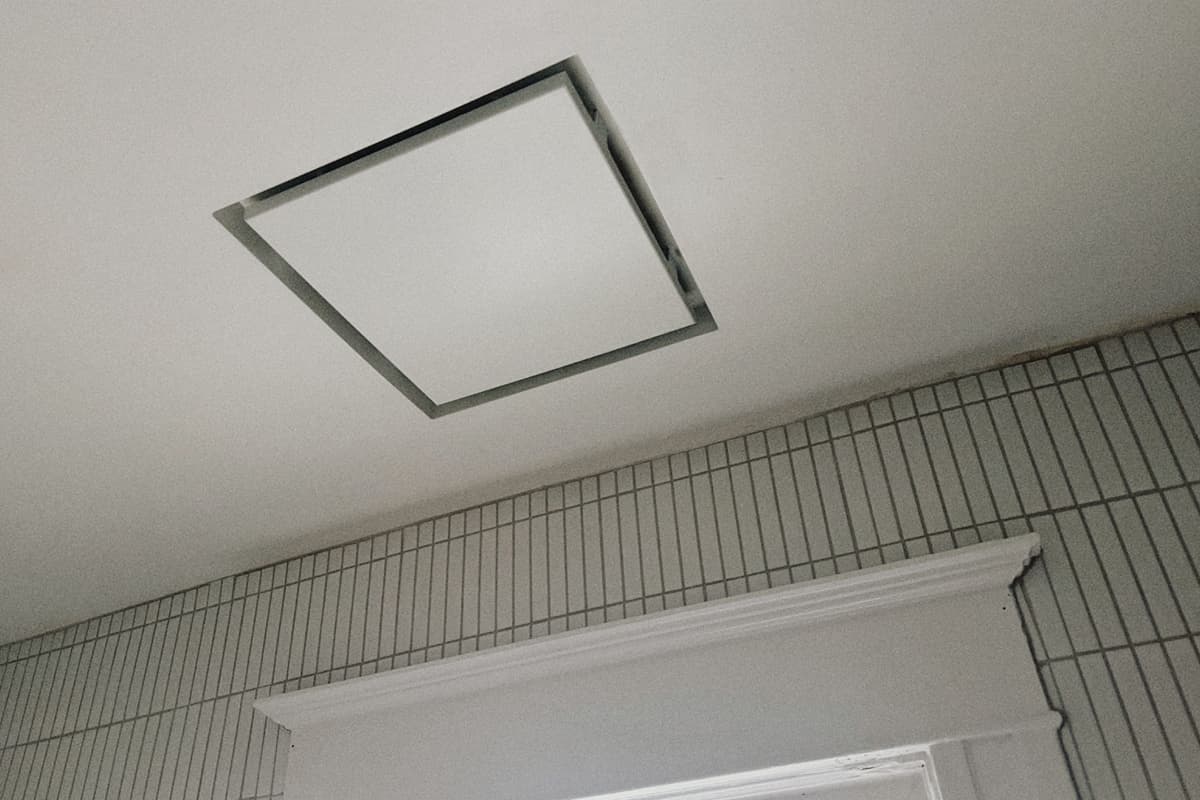
- Layout plumbing and mechanical elements. It is a lot easier to have a smooth building process when you know where everything needs to go. This is when you make sure that you have a clear line to connect your ventilation fan to the outside. The right ventilation fan makes a huge difference. Also, make sure that any supply lines or drains are in the right place and properly align with any centerlines for cabinets. Make sure to account for finished wall thicknesses (drywall, backer board, thin-set, tile).
- Install any pressure-balancing valves. Make sure to mount anti-scald pressure-balancing or thermostatic mixing valves inside shower wall cavities at standard ergonomic heights and proper depth according to the instructions from the manufacturer.
- Blocking is very important and often missed. Things like floating vanities and wall hung toilets need to be identified so that blocking or other hidden structural elements can be put in before anything gets covered up. I even like to make sure that there is blocking around things like the toilet paper holder or any towel bars. There are drywall toggles and other things after the fact but a piece of plywood or scrap dimensional lumber are effortless to install and provide a lasting place to mount things to.
- Make sure that you have enough electrical circuits for what you’re planning on doing. Things like heated floors or heavy-draw equipment need dedicated circuits in addition to the circuit for the bathroom lights, fan, and gfci outlets.
Framing and Subfloor Preparation
- Verifying joist deflection by making sure that joists are spaced properly. That means 16” center to center of joists. If you have 24” joist spacing, the deflection (floor movement when stepped on, called live load) will need to be improved. One way to improve it is to have a thicker subfloor. If the joist bay is too big, I would steer away from tile that requires less deflection like natural stone.
- Verify floor flatness by putting a level across the joists. If there are dips or sages, make sure to sister the joists or shim the subfloor. You can go back with a self leveler on top of the subfloor but I prefer to get the floor flat at the joist level. When the subfloor is down, make sure that the floor is level to about ⅛ inch over 10 feet and apply any self leveling underlayment if necessary.
Substrate Installation & Waterproofing
Creating an impermeable moisture barrier protects the bones of the house and adjacent living spaces.
- Select the right system for your bathroom. The options can be confusing, make sure to select the best system for your needs.
- Install the manufacturer required backer per the manufacturer’s guide be it cement board or a proprietary foam board.
- Ensure seam and fasteners are properly sealed. Double and triple check that all panel joints, corner transitions, and fastener penetrations are covered using manufacturer-approved waterproof seam tape or other sealing methods.
- Perform flood testing. Plug the shower drain and fill the pan with 2 inches of water for 24 hours to verify zero elevation drop before laying tile.
Tiling, Grouting & Fixture Installation
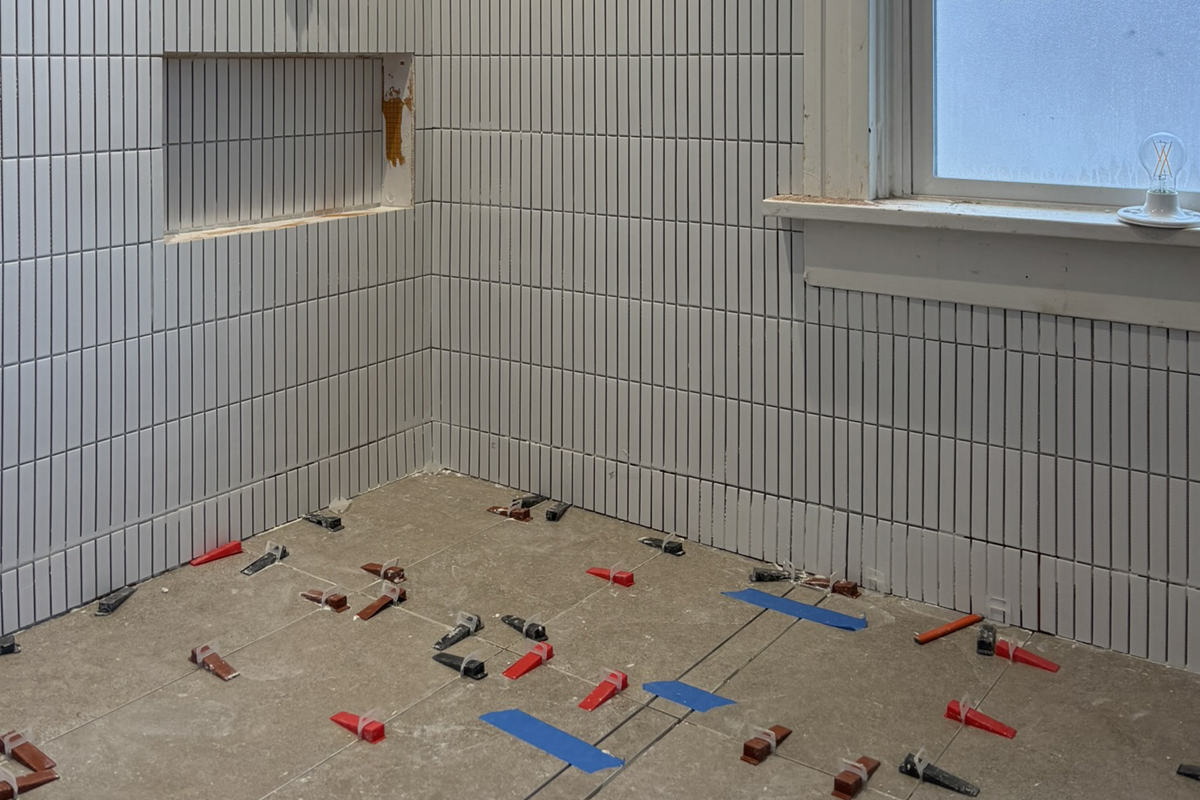
Setting tile over a continuous waterproofing plane requires the right type of mortar and proper coverage.
- Achieve Mortar Coverage Standards. Directionally trowel thin-set mortar using the proper square-notch groove trowel. It is essential to eliminate hollow voids as the tile will eventually break free without proper adhesion.
- Grout the tile per the instructions per the grout manufacturer. A cost increase is using epoxy grout but epoxy grout is much more robust.
- Perimeter movement joints are important to maintain between things like the floor and walls. Most grout companies have a color-matched silicone sealant for these areas. I would highly recommend making sure that you can get the grout and caulk in the same color because it is a detail that takes a bathroom above and beyond.
- Install the plumbing, hardware, and furniture fixtures making sure that they are tied into blocking.
- Apply continuous silicone beads around the necessary plumbing, shower valve, and glass door mounting channels.