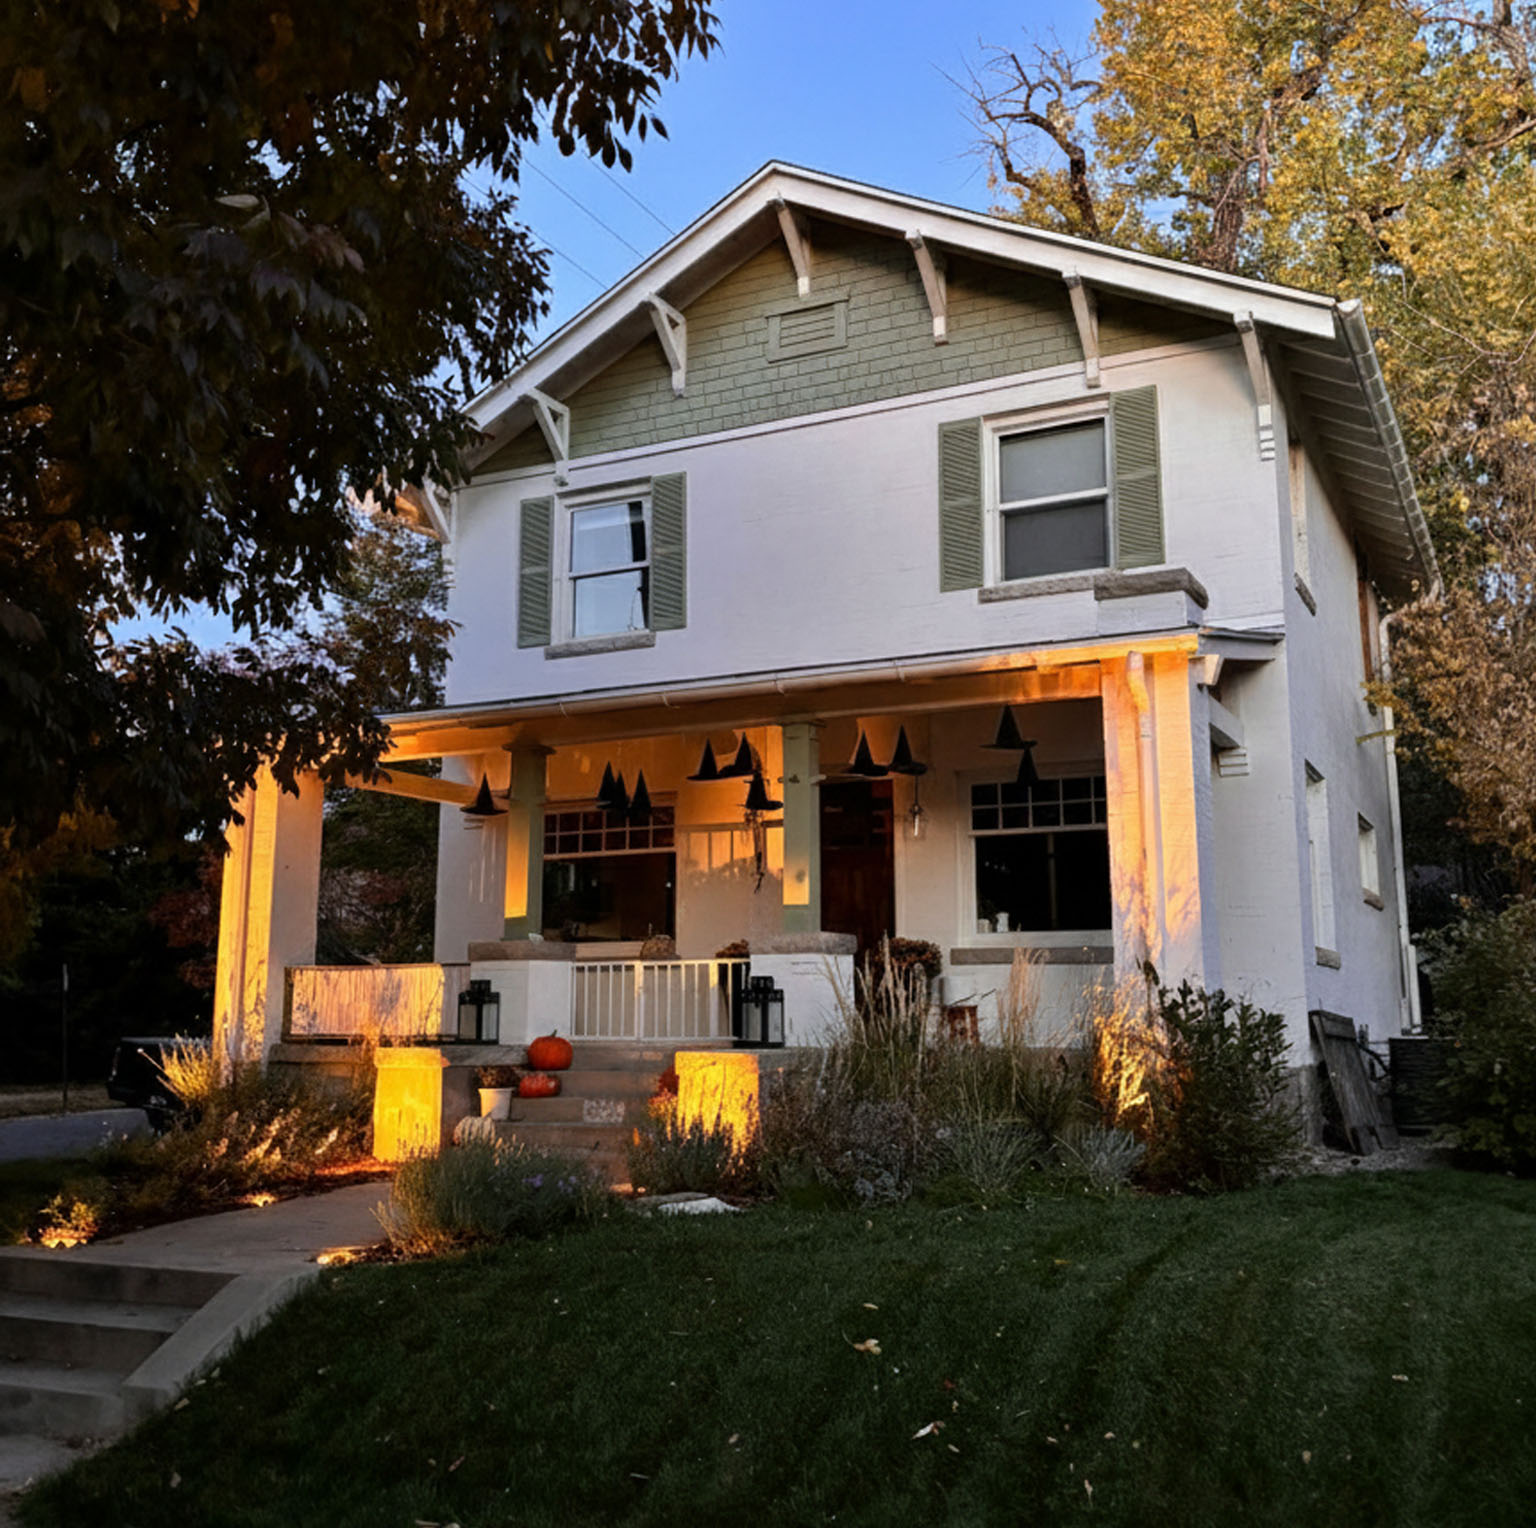
Restoring A Historic Home in Park Hill
Buying a beautiful historic home can be thrilling but once you move in, the exterior flaws might start to gnaw at you. From a distance, the home looks stunning but once you approach, the cracks and flaws start sticking out like a sore thumb.
I had a historic home that needed extensive work.
Every painter that I spoke with told me that caulking was the extent of their prep. I wanted more and was willing to pay. Most of the painters referred me to other people who told me that they’d go around filling in things with Bondo but were scheduled way out.
After having a painter promise me that they were going to take the time and dedication to actually do restoration. I signed them up for the price of a car. That was a mistake. The prep work phase had them spending a few moments in the morning dabbing caulk, then the rest of the day hanging out on the lawn or in their car.
Then, I look out my window to see them spraying the brick garage with the trim paint (it was still the prep work time in the contract and the house looked basically the same). That was it, I decided that I had to learn how to actually restore the exterior.
Here are my steps for getting a historic home to look great:
- Scrape: Place a tarp on the ground/over plants and scrape any paint that is chipping off. I like using a multi-tool scraper. Make sure to wear a mask and gloves.
- High-Build Peel Bond Primer: Go over everything with a high build peel bond primer. It does an amazing job in leveling out small divots and makes sure the areas that were scraped out are glued back down so that they don’t weather off of the house. I prefer XIM Peel Bond after trying out a few. Insl-X and Sherwan Williams Prime RX didn’t give me the fill in build the XIM did for the large voids.
- Recaulk: Remove and replace the existing caulk using SherMax. It’s affordable and is easy to create a clean caulk bead.
- Fillers: I tried a range of fillers since anything exterior needs to be robust or it will weather away. Drydex and other spackles are marketed for exterior use but I didn’t trust the ease that I could knock it out especially with weather movement. I used Minwax Filler for the small dings since the tube is easier to apply. For a little larger issues, I used Durham’s Rock Hard Putty because it feels hard and can be sanded to a smooth finish.
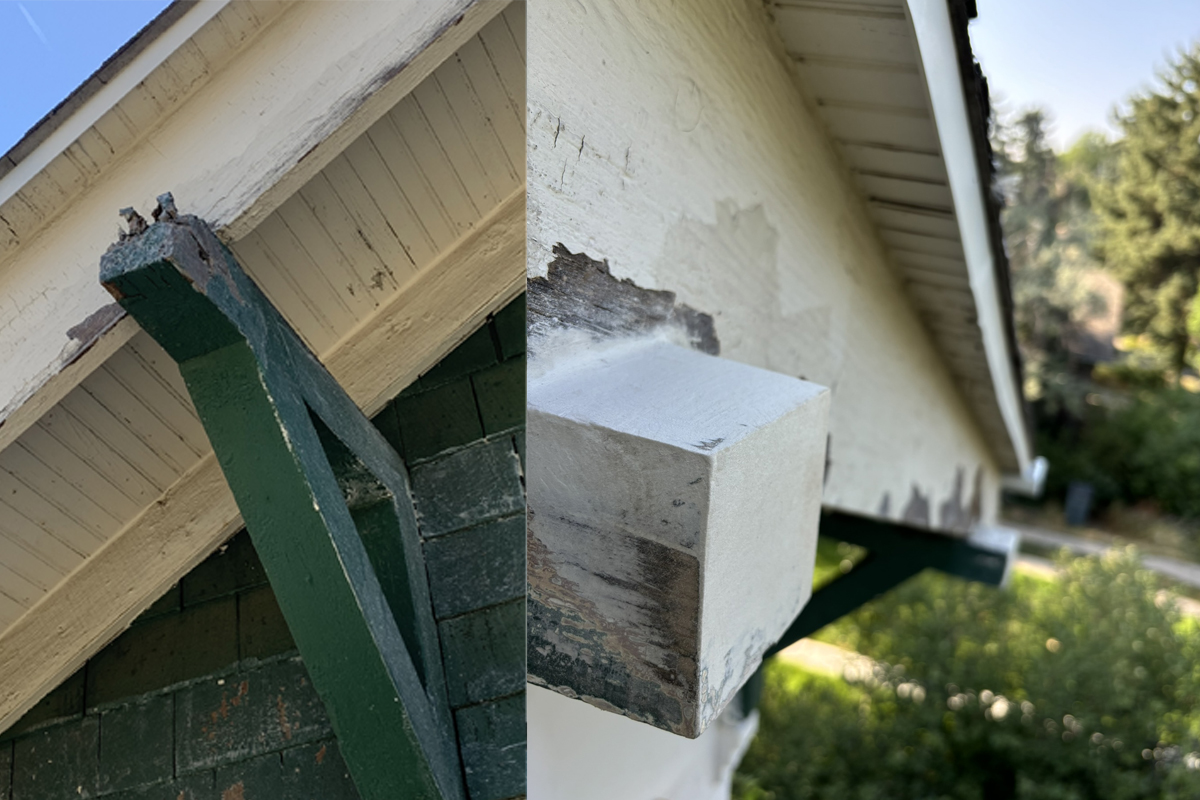
- WoodEpox: For the major damage, WoodEpox cannot be beat. The ease that it can be built up and the holding strength is amazing. Sanding can be done to look like what the wood looked like 100 years ago. I tried to use Bondo to save money but could never get it to look like what I wanted so I decided to give WoodEpox a try. After 3 years, the only thing that has failed has been the Bondo test area.
Restoring a historic home takes a lot of time and dedication to get it looking good.